Import from Excel
Because the data
stored in Excel may not have the same table structure, or field names etc. as
the standard catalog tables, there is a process involved to import the data and
structure correctly. The procedure below details how data is to be successfully
copy and formatted from an Excel spreadsheet to a
OpenPlant Modeler catalog.
This option allows you to import data into a new catalog from an Excel spreadsheet. Once you create a new catalog, the Edit Schema dialog displays which is where you add/edit tables and data to the catalog.
To Import Table Data from an Excel Spreadsheet-
First create a new catalog by selecting the
Create New Catalog
 icon.
A standard Windows Save As dialog displays.
icon.
A standard Windows Save As dialog displays.
- Select the table to delete from the Tables list.
-
Enter a name for the catalog in the dialog and click
OK to save.
Note: The default path where the catalogs are stored is in the ...Configuration\WorkSpaces\OpenPlantExample\Standards\OpenPlant\Catalogs\Imperial directory.The catalog database is created and the Edit Schema dialog displays.
-
Select the Import from Excel option using one of the following
options:
- In the
Edit Schema dialog, click the Import Data
 icon and select
Import from Excel from the list.
icon and select
Import from Excel from the list.
- Select menu.
- In the
Edit Schema dialog, click the Import Data
- Navigate to the directory where the Excel file is stored and open the file.
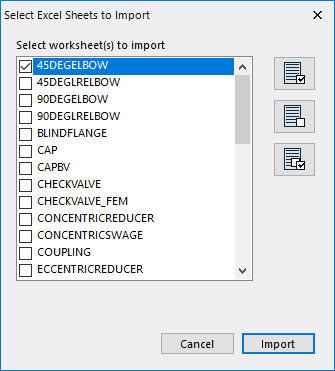
- Click Open to display the following dialog, which lists the Excel worksheets which contain the data to import:
- Select the worksheets to import and click the Import button. The Fields Mapping dialog will display. Mappings assist to map Excel sheet columns to Catalog Table columns and so that allows import data in customized way.
-
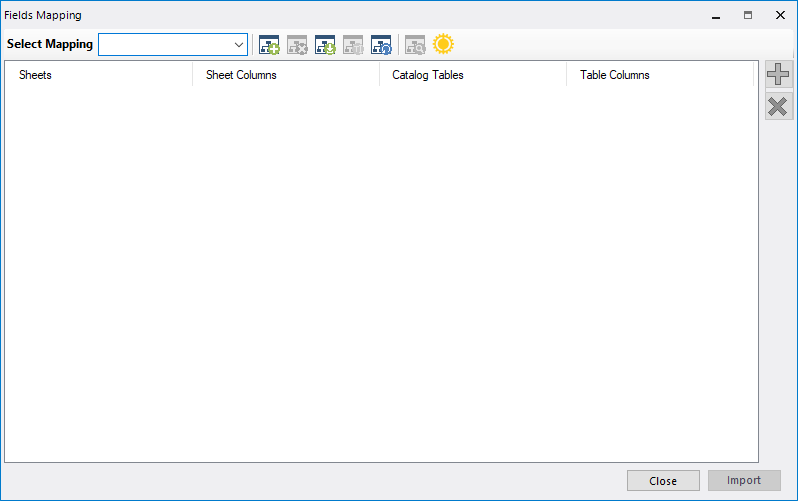
To add New Mappings, click the
Add New
 icon. This will add a new record
and allow you to define the mapping parameters.
icon. This will add a new record
and allow you to define the mapping parameters.
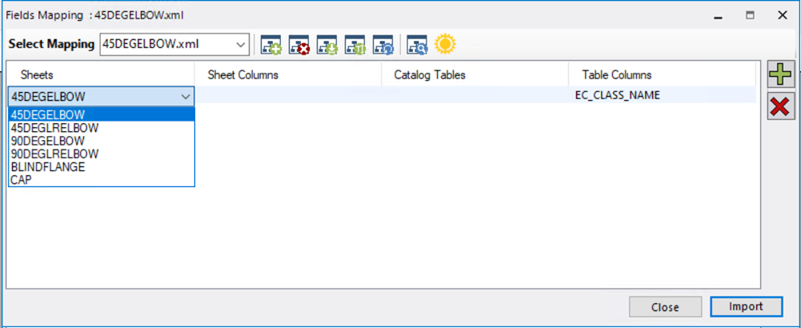
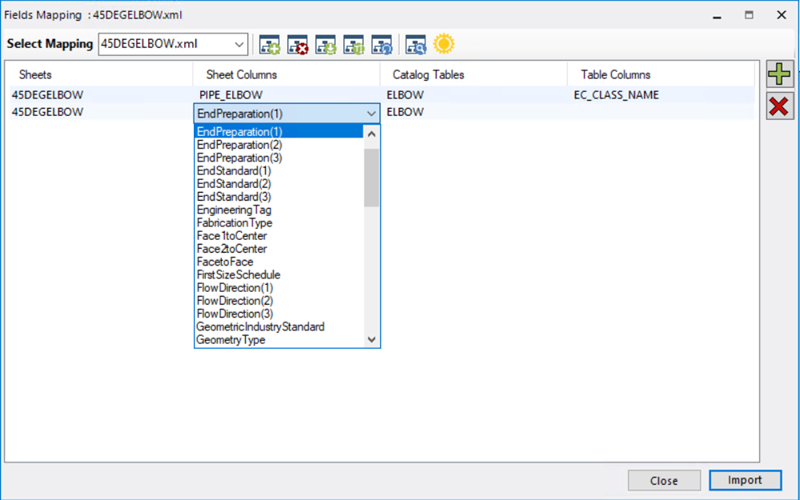
- Click in the Sheets field and select a sheet from the drop down list (shown below) the list will correspond with the selections made in the Select Excel Sheets to Import dialog.
- The Sheet Columns list provides the fields that are to be mapped to the Table Columns in the catalog. By default, the first mapping prompts you to define the EC_CLASS_NAME. The Sheet Column drop down list will display the list of available choices as shown below:
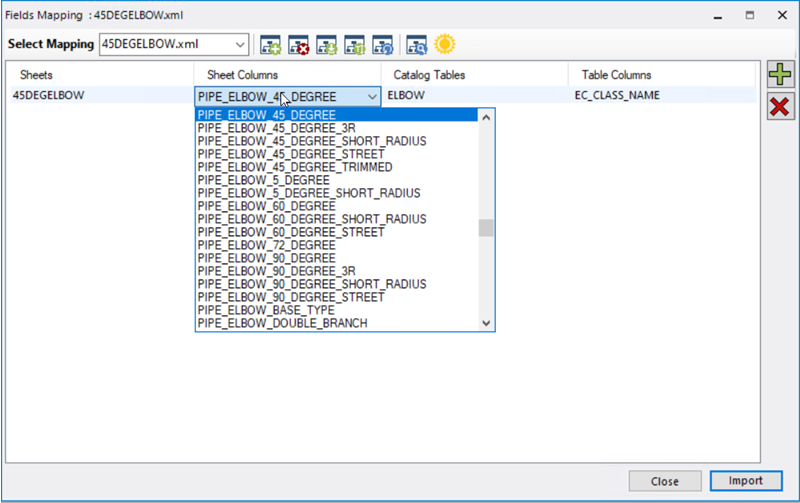
- Select an option from the Sheet Columns list. The Catalog Tables field will list the table which corresponds with the EC_CLASS_NAME.
- Once the component type is determined, the Sheet Columns list will comprise of the available fields which can be mapped to additional Table Columns as shown below.
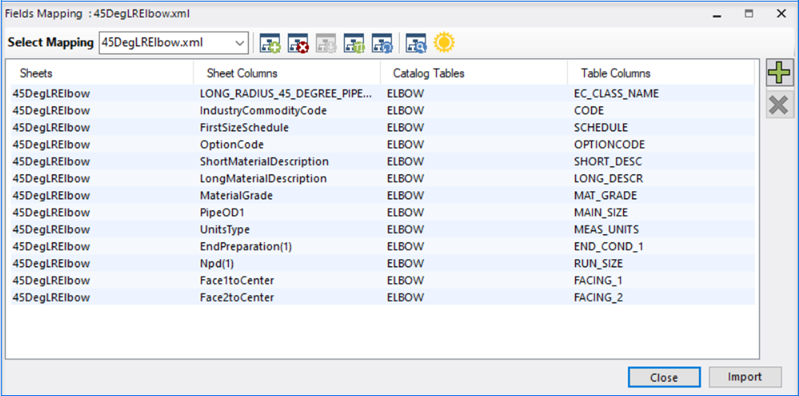
- Select a field from the Sheet Columns list (shown below), then select the Table Column to map it to. Once the EC_Class component type is mapped, you are able to map additional fields for the Excel sheet by repeating the process. The resulting list should appear similar to the image below.
- (Optional) If you want to save the sheet mappings for use in future catalogs, click the Export Mappings option to save the mappings as an .XML file. When prompted, designate a directory location and name for the file and click Save.
- Click the Import Data button to import the data to the catalog. If you have not previously saved the mapping information using the Export Mappings. Repeat the mapping procedure until each imported Excel Sheet has been mapped. Once all of the sheets have been mapped and imported, Close the Fields Mapping dialog to return to the Edit Schema dialog.
- Close the Edit Schema dialog. To view the data imported to the catalog, select a catalog Table.